Halo Campaign Evolved: Find All Skulls and the Terminal in Assault on the Control Room
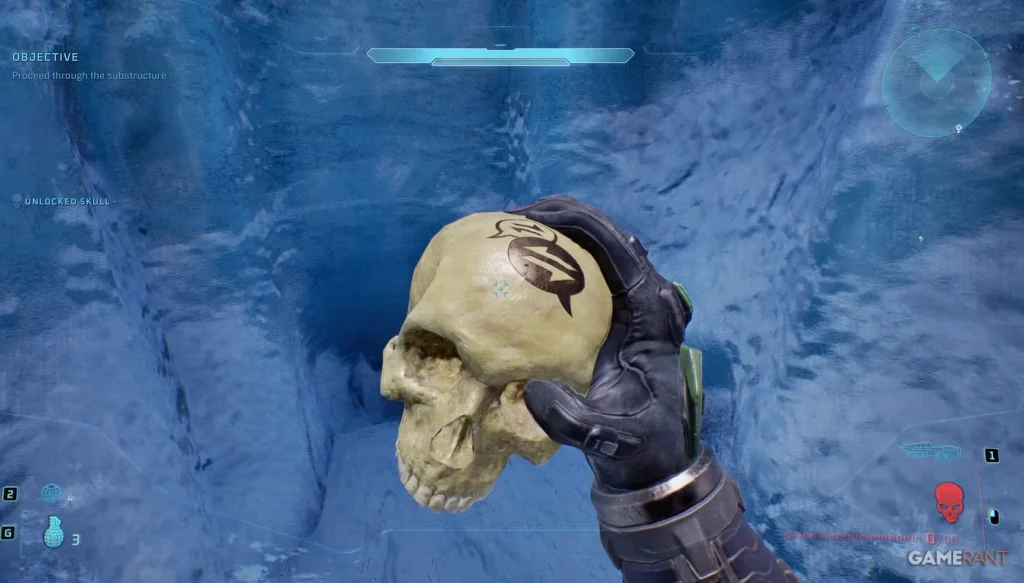
Halo Campaign Evolved’s fifth main mission, Assault on the Control Room, hides a total of one Terminal and three Skulls—IWHBYD, Angry, and Cowbell. Here’s the clean route to grab every collectible in order, including what to expect once each one is equipped.
How to collect every Terminal and Skull in Assault on the Control Room
Your first Skull, IWHBYD, won’t be available until later in the mission when you gain access to the Scorpion Tank alongside your Marine allies. Continue forward until the Tank is introduced, then bring it through the next section until you reach a bridge in a snowy mountain area. Cross the bridge with the Tank, then immediately go left. Park the Tank alongside the cliff wall, exit the driver’s seat, climb up onto the Tank, and jump off the cliff to the right. Drop into the small gap where you can stand—this is where the IWHBYD Skull is located.
Once equipped, IWHBYD provides secret dialogue.
Next, after crossing the bridge and opening the following set of doors, take the Tank through the steep hill and icy cave segment. When you come out the other end, you’ll spot a Covenant dropship and a split road. Take the left path, but keep an eye on the right wall. On the right side, find a door you can access. Clear the Covenant inside, go up the stairs, and turn right immediately to find the Terminal #1 waiting at the edge.
The mission’s second Skull, Angry, comes after you’re forced to abandon the Scorpion Tank because it won’t fit into a small cave on the objective route. After you exit the cave and move into the next area, look for a ramp-like structure surrounded by enemies. Climb up to the top by using the third ramp structure; the Skull sits in the middle. No special jumps or vehicle tricks are required—walk up the sides like a ramp to reach it.
Equipping Angry causes enemies to fire their weapons faster and more frequently.
For the final collectible, Cowbell, continue to the end of the mission where you’re directed to head for Halo’s Control Room. Two Banshee ships will be available, but you should ignore them and move forward while hugging the left railing toward the large structure in the center. Look down from there to spot a ledge you can drop onto. Once you’re underneath the structure, Cowbell is waiting on a rock. To keep moving through the mission, you’ll then need to drop down further, take the stairs back up, and continue the objective.
Cowbell reduces the weight of objects, making their physics easier to displace during gameplay.