Gothic Remake Walkthrough Updated for Chapter 5 “The Nightmare of the Sleeper
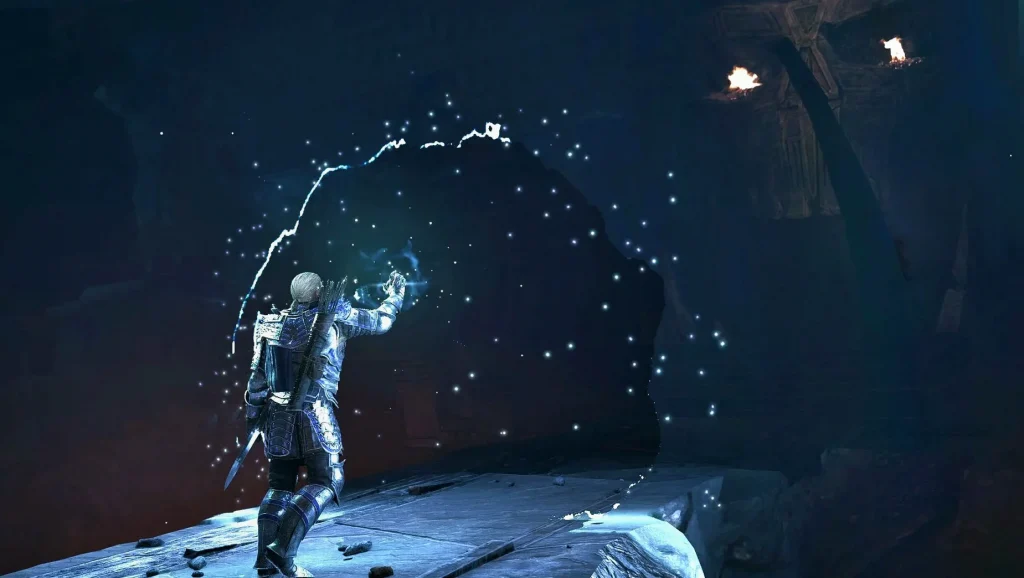
A major walkthrough update has been published for Gothic Remake, covering the Chapter 5 main quest “Koszmar śpiącego” (The Nightmare of the Sleeper). The guide focuses on how to reach the Temple of the Sleeper, where to find the undead shamans inside, how to complete several multi-step puzzles, and where the “Uriziel” sword is obtained—along with the exact prerequisites the quest requires before the temple can be exited and the next storyline objective begins. The update was posted on July 20, 2026.
Getting into the Temple: quest access and prep
The quest “Koszmar śpiącego” starts after completing “Wybrana ścieżka” (the “Chosen Path” quest). To enter the Temple of the Sleeper, the player travels with shaman Ur-Nazkrog and the tribal leader To-Churnaggi, reaching the temple entrance inside the Ork Enclave. The entrance is surrounded by a magical barrier.
After speaking with the orcs, the barrier can be interacted with: using an amulet allows passage to the other side. The guide also stresses preparation, specifically recommending a sizable stock of food and potions before entering, due to a large and sprawling dungeon featuring both challenging “standard” enemies and multiple boss fights.
Temple puzzle routes: symbols, levers, and blood mechanics
The Temple’s first major puzzle setup revolves around rotating elements and interpreting symbol placements. Early on, players first deal with a “skeleton mage,” because it can resurrect additional skeletons. In the initial puzzle chamber, the player encounters a riddle involving three dials and symbols; the solution is not known yet, so the guide directs players to take the left passage to a room containing a single statue and a temple sketch that helps navigation across the temple’s layout.
From there, the guide describes a turning-statues puzzle: three statues can be rotated so that each statue’s finger points to the correct symbol. Completing that portion causes a pillar with three symbols to extend from the ground. Players then return to the central hall and use the three dials on the right side to display the correct symbol configuration at the opposite side of the room, unlocking progress out of the hall.
The next puzzle segment is about lever-driven stone block movement. The guide explains it cannot be completed immediately because a required element is missing. Players must explore a western route down to a lower level, pull smaller levers, open new passages, and avoid dangers including a significantly stronger “older temple guardian.” Eventually they reach a chest containing an “ork lever,” which enables the puzzle to be solved.
With the ork lever, players repair the middle lever. The right lever remains fixed, and the connected stone block always stays extended. The guide instructs players to pull the left lever and then—after a longer pause, timed when the left block reaches its highest point—pull the middle lever so stone blocks align for a jumping sequence. The player must time jumps across moving blocks to reach an upper north-east passage leading deeper into the temple.
Shamans and key quest rewards: 5 shamans, 5 gems, and Uriziel
Progress through the temple requires defeating a total of five different undead ork shamans. The guide’s key system advice is to search every killed shaman, because they carry quest items: the “shamans’ jewels.” Killing all five shamans yields five different jewels.
As the player advances, the guide places the shamans at specific locations relative to the temple’s rooms. It also notes that one later puzzle completion triggers the appearance of a shaman immediately, without preparation time. The guide recommends saving before manipulating the final symbol state to avoid losing time or progress.
The temple’s fourth major boss encounter is tied directly to the most notable reward in this quest: after defeating boss Varrag-Ruuushk, players are instructed to grab the “Uriziel” sword. The sword is obtained in the same location where the boss is fought and it “levitates” in that arena.
The guide emphasizes that Uriziel is not just a quest prop: it can be used immediately. It is described as a two-handed weapon that deals 90 slash damage and requires 30 Strength, making it relevant even for builds that are not primarily Dexterity- or Magic-focused.
Final barrier and return to Xardas: blood puzzle payoff and quest completion
One of the largest gating obstacles is a blood-driven mechanism puzzle paired with a red magical barrier. After reaching the room with the barrier, the guide instructs players to check two side rooms first, starting with the right (north) side. Players must shoot an upper wall button with a bow to unlock access to a side lever; pulling it causes blood to flow into a reservoir.
Inside that same area, there are two rotating mechanisms controlling round plates. Players rotate them so blood flows into the side reservoirs, wait for them to fill, then rotate the plates again so blood routes toward a central path. At the central mechanism, the player rotates the central plate so blood flows into the central hall.
The left (south) room contains spikes that can kill the Undead “Bezimienny” by default. The guide directs players to shoot a distant wall button to disable the spike trap temporarily, then use a second button and pull the newly unlocked lever. Returning to the central area allows blood to drain into the room with the red barrier.
Interacting with the final central mechanism spawns a mini-boss: the “Ognisty demon.” The guide advises saving before the interaction and optionally equipping fire resistance items. Defeating the demon rewards 500 XP, disables the red barrier, and lets the player continue.
To complete the quest, the guide states players must ensure they have all five shamans’ jewels and the Uriziel sword. After that, the player advances west, finds a second magical barrier, and confirms it can be located even if it can’t be disabled the same way by Bezimienny.
Finally, players use the “Teleportacja do nekromanty” rune to return via fast travel to Xardas’ tower, then speak with Xardas. Reporting the temple progress—Uriziel plus the five jewels—grants a total of 3000 XP and starts the next main quest, titled “Uriziel,” which begins with charging the sword’s magic energy.
Key takeaways for players attempting the quest
- “Koszmar śpiącego” begins only after completing “Wybrana ścieżka.”
- Before entering the Temple of the Sleeper, stock up on food and potions due to the size of the dungeon and the number of boss encounters.
- Defeat all five undead ork shamans and search each one for jewels—total: five jewels.
- Uriziel is obtained after defeating Varrag-Ruuushk, and it can be used immediately (90 slash damage; 30 Strength requirement).
- The red barrier segment requires managing blood flow through reservoirs and rotating plates, then defeating the “Ognisty demon” (500 XP) to disable the barrier.
- Quest completion requires having Uriziel and all five jewels before returning to Xardas, which awards 3000 XP and starts the “Uriziel” quest.