How to Clean Nintendo Switch 2 Externally to Prevent Overheating and Fan Noise
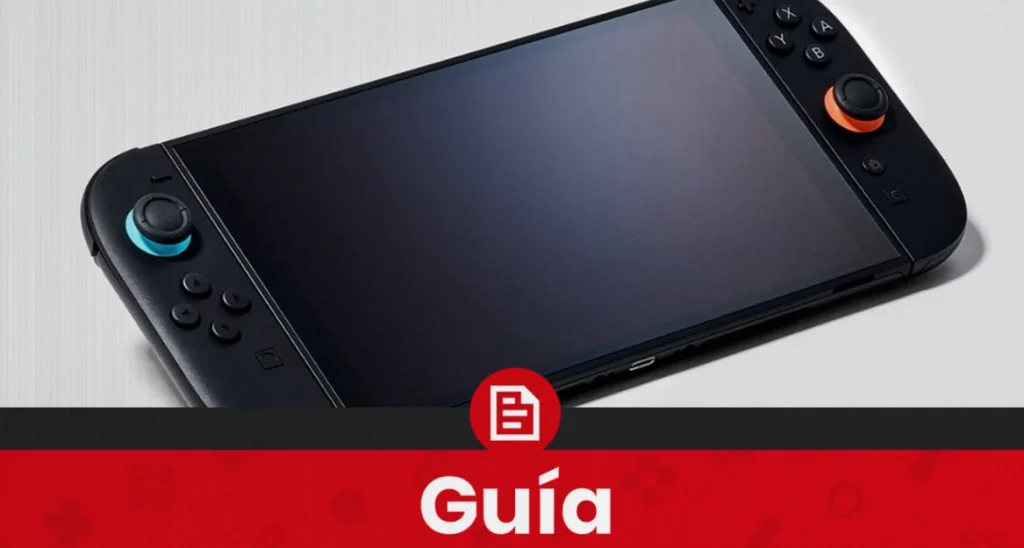
If your Nintendo Switch 2 is running hot, slowing down in demanding games, or making an unusually loud fan noise—dust is often the culprit. Because the system relies on steady airflow to keep the SoC within safe temperatures, clogged ventilation grilles can push the cooling fan to full speed without actually lowering temps. The good news: you can clean the cooling path externally without opening the console or breaking the manufacturer’s warranty.
Why Switch 2 overheats: dust and how the cooling system moves air
The Switch 2 uses a pressure-driven airflow design powered by an internal centrifugal-style turbine. In simple terms, it pulls cool air in from the lower intake area, moves heat away from the chip through a copper heat pipe to an aluminum fin radiator, and then expels hot air out through the upper vent.
- Bottom intake: Cool air is drawn through micro-perforated filters at the lower-rear area.
- Heat transfer: Heat from the SoC travels via a copper heat pipe to an aluminum fin stack.
- Top exhaust: The fan forces hot air out through the upper grille.
Fine dust mixed with ambient moisture can form a compact layer on the radiator fins. That film blocks heat dissipation, which can lead to the fan running at 100% while the console still struggles to cool down.
Clean without opening the console (and without voiding warranty)
Opening the rear casing breaks security seals placed over the fasteners. If you remove the back cover, the official warranty is automatically lost. To avoid that, the recommended approach is high-precision cleaning that targets external intake/exhaust areas and the dock—without touching internal components.
Step 1: Power down completely (not sleep/standby)
- Turn the console off by holding the power button for 3 seconds, then choose Options > Power off.
- Do not perform the process in standby, since active thermal sensors could respond during cleaning.
- Unplug the charger, remove any MicroSD cards, and disconnect the controllers.
Step 2: Clear the bottom air intake grilles
- Use an anti-static brush to remove visible dust clogs from the plastic intake holes.
- Use short bursts of compressed air while keeping the can upright to avoid spraying propellant liquid.
- Wipe the exterior plastic carefully with a lightly moistened cotton swab using isopropyl alcohol, leaving no residue.
Step 3: Clean the fan area and the hot-air exhaust (top grille)
- Safety blocking: Very gently insert the tip of a soft wooden toothpick into the upper grille to slightly prevent fan rotation.
- Important warning: If the fan spins due to compressed air, it can behave like a generator and potentially inject reverse current that may damage the motherboard.
- Blow compressed air at an oblique angle (about 45°) to push dust outward rather than deeper into the cooling assembly.
- Repeat the process using a manual air nozzle/perilla to ensure no large particles remain trapped between the fan blades.
Step 4: Don’t neglect the Dock and ports
Dust buildup in the dock can act like thermal insulation and make cooling in TV mode harder.
- Wipe the dock’s internal slot with a dry microfiber cloth to avoid scratching the display when inserting the console.
- Use compressed air from a distance on the console’s lower USB-C port and on the controller rails to reduce the risk of charging failures or random disconnections.
Usage habits that make heating worse (and what to do instead)
- Avoid playing on fabrics: Using the console in portable mode on blankets, sofas, or cushions can block the bottom intakes and trap heat behind the plastic shell.
- Give the dock airflow: If the dock sits inside a closed TV cabinet, hot air can build up. Keep at least 10 cm of free space on the sides and above the base.
- Manage pet hair and carpets: Dog/cat fur is especially bad for tiny heat-dissipation paths. If you play on carpeted surfaces, raise the dock/base a few centimeters off the table.
- Be careful with rigid cases: Some silicone shells lack enough cutouts in the upper and lower grilles, reducing airflow by up to 30%.
How often to clean, and how to recognize overheating
Cleaning schedule
- Every 3 months: Do a surface cleaning of the ventilation grilles.
- Every 6 months: Perform a deeper compressed-air cleaning without opening the console.
- More often if needed: If you have pets or play in carpet-heavy environments, cut both intervals in half.
Clear signs your Switch 2 is overheating
- The fan runs at maximum speed and produces a high-pitched whine even while you’re in menus.
- You see an official warning message indicating the console will shut down automatically due to high temperature.
- After more than 20 minutes of demanding gameplay, you notice severe frame drops, lag, or freezes.
What about opening the console for thermal paste?
If you remove the Tri-Wing security screws from the rear housing to replace thermal paste, official service can refuse free repair or replacement for factory-related issues. The reason given is that the manufacturer uses pressure-sensitive seals and thermal adhesive on the screws; any manipulation leaves irreversible marks that invalidate the legal warranty period.
Do third-party cooling bases affect warranty?
Third-party fan bases don’t automatically void the warranty by themselves, but they can still be harmful. If their fans blow air in the opposite direction of the console’s natural airflow, they may stress the internal motor or push more dust into the system. The recommendation is to keep the console clean through passive methods rather than forcing airflow externally.